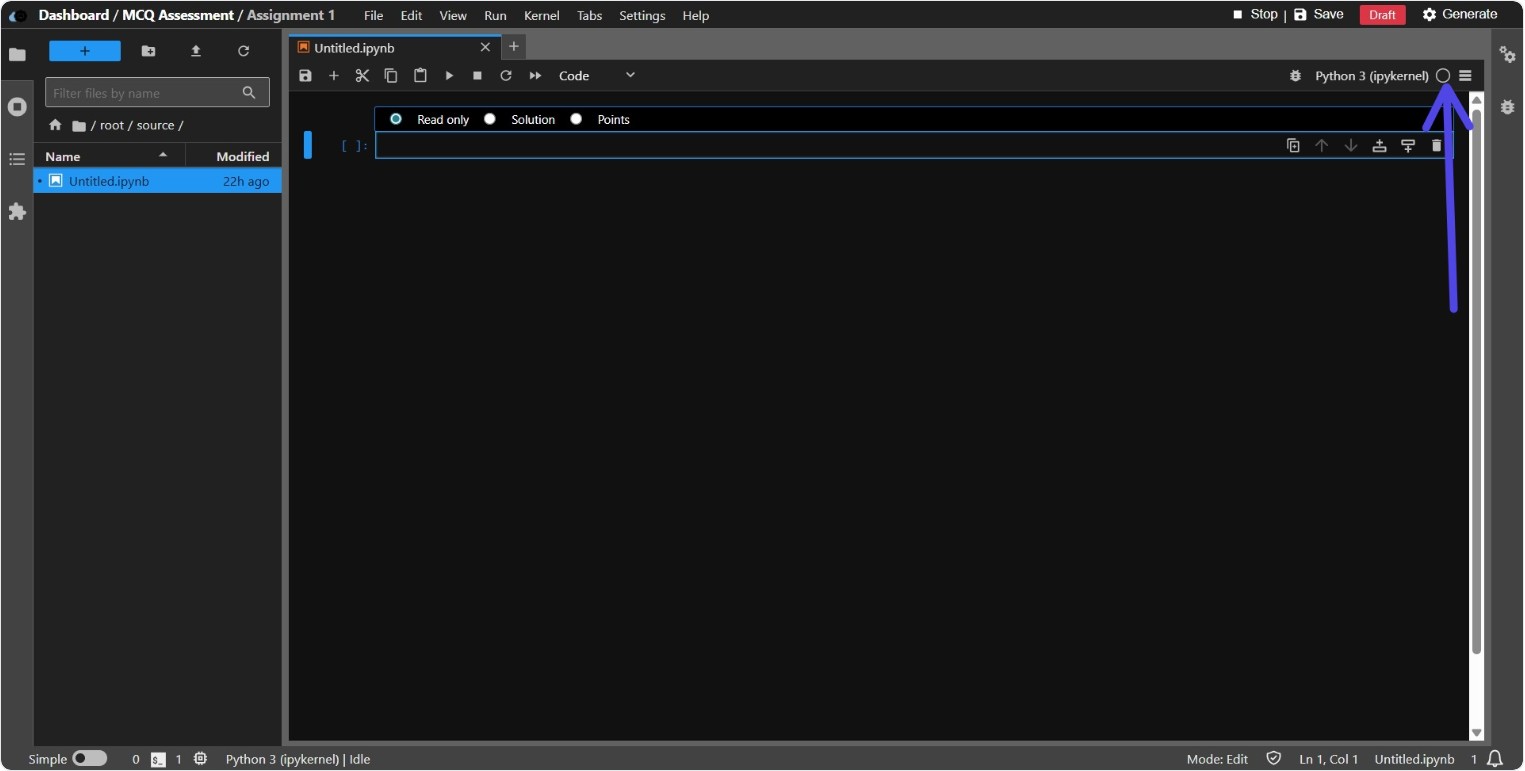
Notebook Interface
Key Interface Elements
Understanding the main parts of the notebook interface will help you work more efficiently.
Notebook Name
Displays the file name. By default, new notebooks are designated as Untitled. You can change this by going to File → Rename in the menu bar. Choose a descriptive name that reflects what your notebook does.
Checkpoints
The system automatically saves your work at regular intervals, creating restore points. If something goes wrong or you accidentally delete important work, you can recover a previous version using these checkpoints.
Menu Bar
The top menu bar provides quick access to key features, including:
- File: Create, open, save, and export your notebook in different formats.
- Edit: Cut, copy, paste, and modify cells.
- Kernel: Control the programming environment that runs your code.
- Help: Access documentation and keyboard shortcuts.

Toolbar
The toolbar contains buttons which offer one-click access to common tasks like saving your work, adding or removing cells, running code, and rearranging cells.

Kernel
The kernel is the engine that runs your code. Think of it as the "brain" of your notebook. When you execute code, the kernel processes it and returns the results.
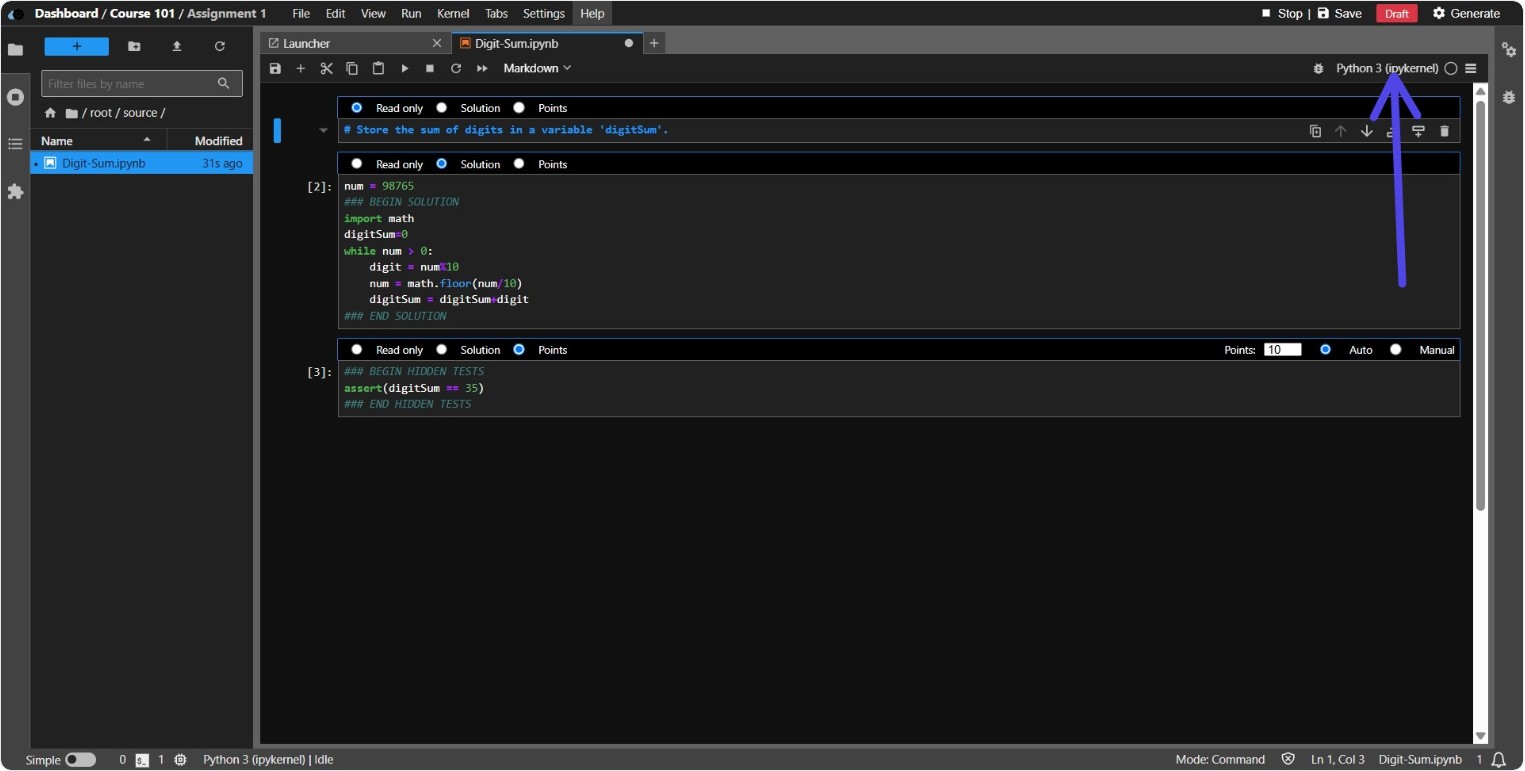
Kernel Status Indicator
A small circle icon shows you what the kernel is doing:
- Hollow circle: The kernel is ready and waiting for your next command.
- Filled circle: The kernel is busy executing code.