Creating new kernel
Create R Assignment
R is not installed by default on lab.computer. We have to install it manually to run R assignments. We will install the R kernel like we do any other course level software - Follow this guide to install course level software
After opening a terminal, you have to first add the R ubuntu repositories and corresponding keys(the default R in ubuntu repository is not updated):
$ echo "deb https://cloud.r-project.org/bin/linux/ubuntu bionic-cran40/" | tee -a /etc/apt/sources.list
$ wget -qO- https://cloud.r-project.org/bin/linux/ubuntu/marutter_pubkey.asc | sudo tee -a /etc/apt/trusted.gpg.d/cran_ubuntu_key.asc
$ apt-get update
$ apt-get install r-base-dev
$ R
R prompt> install.packages('IRkernel')
R prompt> IRkernel::installspec(user = FALSE)
Now you should have the R kernel ready for use. You may have to click the reload button on Jupyter to make it available.
You can now proceed to start an R assignment - Follow this guide to start building an assignment
Tip
You can download basic R assignment file with following link.
Download r-sum.ipynb file
Tip
To signal that student code is wrong from an autograded test cell, you can use the stop() instruction. If this instruction is called, student will not get points for that question. The downstream cells will still continue working.
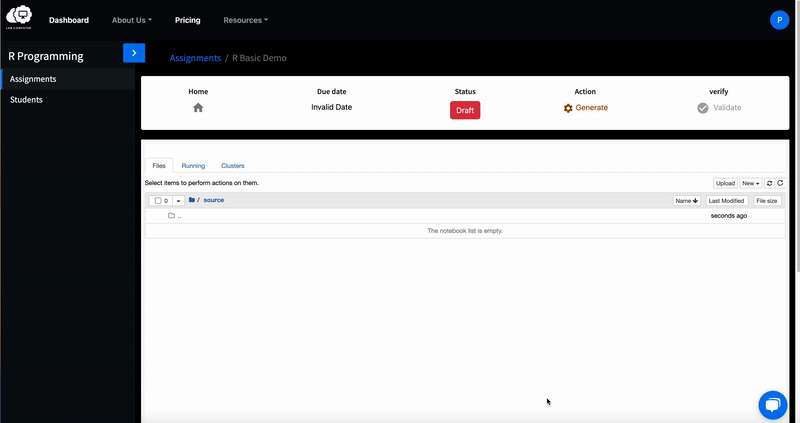
- You can upload it by clicking on upload button right side of the jupyter notebook, select the file already downloaded and click on upload button.
- Uploaded file is an assignment. you'll see r-sum in file section. You can open it by clicking on it.
- To verify this assignment is working correctly, You can click on generate button that you can find in the tool bar. You can make further edits and release the assignment
- Congratulations!


